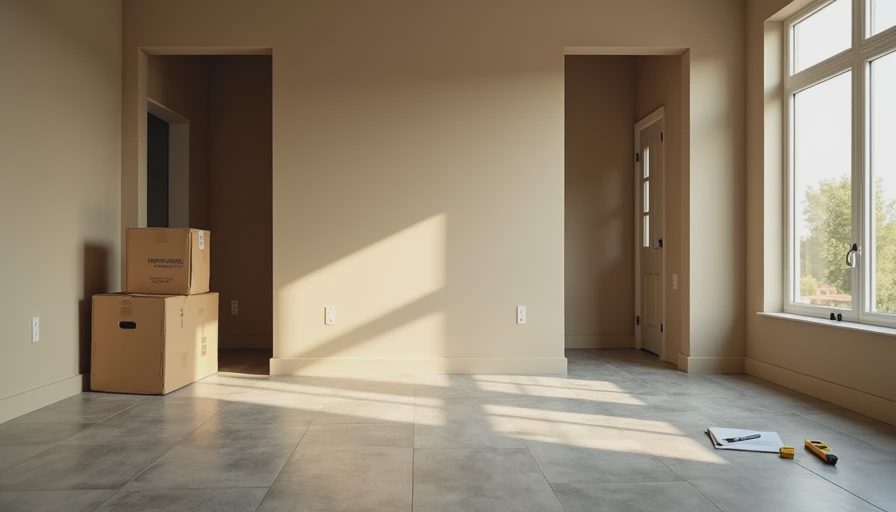
We pulled up to our new house on closing day with a U-Haul full of excitement and zero clue what was coming. The realtor handed us the keys, we took the obligatory front porch photos, and Megan said, “We’re done!”
Famous last words.
Thirty days later we were knee-deep in paperwork, touch-up paint, and mystery drywall dust while trying to keep Charlie from turning the empty rooms into a racetrack. If you’re about to close on a new build, let me save you some sanity: the house isn’t actually “done” when you get the keys. It’s just getting started.
Here’s the unfiltered playbook from someone who sat through hundreds of these walkthroughs on the builder side and then lived it myself.
Day 0–3: The Honeymoon Phase (It’s a Trap)
You walk in, everything smells like fresh paint and new carpet, and you think, “This is perfect.” Then you start noticing things. That light switch that doesn’t work. The cabinet door that doesn’t close quite right. The toilet that runs for 45 seconds after you flush.
I had a whole folder of photos from the final walkthrough, but guess what? Things shift during the last cleaning and move-in.
Pro tip: Take fresh photos and videos the minute you get the keys — before you move any furniture. Document everything.
The Punch List Reality
Builders have a punch list for a reason. Ours was 27 items long. Some were tiny (missing outlet covers), some were annoying (paint touch-ups in three rooms), and one was a head-scratcher (a window that wouldn’t lock properly).
Because I used to work for Pulte, I knew exactly how to push for fixes without sounding like a nightmare homeowner. Be polite but persistent. They want to close out the house and move on to the next one. Use that.
Week 1: The Settling Begins
New houses settle. It’s physics. Our first settlement crack appeared on day 9 — a thin hairline above a door frame. I knew from experience it was normal, but Megan still panicked.
We documented it, waited, and it stabilized. Most new builds get a few. The key is knowing when to worry (wide cracks, sticking doors, uneven floors) versus normal shrinkage.
What Actually Needs Doing in the First 30 Days
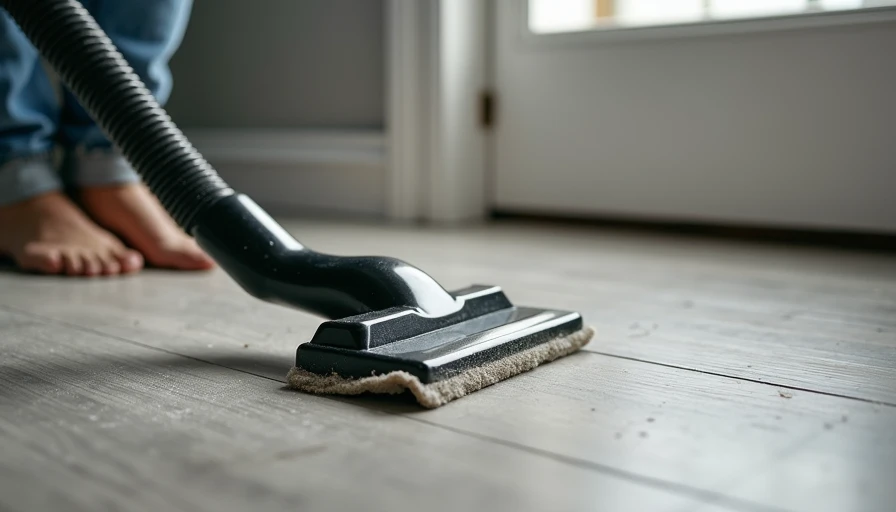
1. Deep Clean Like Your Life Depends On It
Construction dust is next level. We rented a HEPA shop vac and went over every inch. Baseboards, window tracks, inside cabinets — places you don’t think about until you see the gray film everywhere. Cost: $80 rental + cleaning supplies. Worth every penny for our sanity and the new HVAC filter.
2. Window Treatments – Temporary but Critical
We thought we could wait. The sun had other plans. Bedroom facing east turned into a solar oven by 7am. We hung cheap blackout curtains from Amazon ($120 total) while we figured out real solutions. Saved our sleep and the new furniture from fading.
3. Outlet and Switch Check
Walk every room and test everything. We found three outlets that weren’t wired properly and one ceiling fan that hummed like an angry bee. Builder came back and fixed them under warranty — but only because we documented it immediately.
4. Appliance Calibration and Setup
That fancy new fridge? It needed leveling. The oven ran 25 degrees hot. The dishwasher left spots until we figured out the water hardness settings. Spend a weekend running test loads and adjusting. Future you will thank you.
The Mud and Dirt Invasion
With kids and a dirt backyard, the first 30 days felt like we were constantly mopping. We bought a no-threshold entry mat system for the back door and designated “inside shoes only” rules immediately. Small Hands category stuff, but it starts day one.
What Can Actually Wait
Full interior painting (we lived with builder beige for six months)
Custom closet systems
Fancy light fixtures
Major landscaping
Focus on making the house livable and functional first. The pretty stuff comes later when you’re not exhausted.
The Paperwork Avalanche
Warranty packets, HOA docs, utility setups, builder contacts. I created a simple folder system on day two and it saved us multiple times. Set up the smart thermostat, transfer utilities, and register every appliance for warranty — all in the first two weeks.
Lessons From the Trenches
I watched families during my Pulte days make two big mistakes:
Assuming everything was perfect on closing day.
Waiting too long to report issues while the builder’s team was still responsive.
Don’t be either of those families.
Our First 30-Day Survival Kit
HEPA vacuum + microfiber cloths
Good flashlight and phone charger in every room
Painter’s tape and touch-up paint (ask the builder for extras)
Notebook for tracking issues
Patience and a sense of humor
We also learned to celebrate small wins — like the first night we ate takeout on the actual kitchen island without boxes everywhere.
The Emotional Side
There’s a weird mix of excitement and overwhelm in those first weeks. One minute you’re proud, the next you’re questioning every decision. That’s normal.
A new house isn’t perfect. But it can be yours.
We made it through those 30 days. The house felt more like home with every box unpacked and every small fix completed. Two years later, we still find occasional quirks, but they’re our quirks now.
Your First 30 Days Checklist
Document everything with photos on day one
Submit punch list items within first week
Deep clean before full move-in if possible
Set up temporary window coverings
Test every appliance and system
Establish mud/dirt control systems immediately
Organize all warranty and HOA paperwork
Breathe — you’re doing great
Print this. Keep it on the counter. You’ve got this.
Those first 30 days are chaotic, messy, and full of learning curves. But they’re also when your new house starts becoming your house. Embrace the mess. Take notes. And don’t forget to order pizza on night one — you’ve earned it.
No letters yet — pray write the first.