The Lighting Upgrade Meeting
The sales counselor flipped to the lighting page with a big smile: “Our deluxe package includes all upgraded fixtures throughout the home for just $3,850.” Megan nodded enthusiastically. I saw the internal cost sheet in my head and almost laughed out loud.
Five years at Pulte taught me that builder lighting is one of the highest-margin items on the upgrade sheet. Beautiful in the model home, often disappointing once installed in your actual house under real-life conditions.
Here’s the no-BS guide on what I actually chose, what I skipped, and the strategy that saved us thousands while getting better light.
Why Builder Lighting Costs So Much (And Delivers So Little)
Fixtures that cost the builder $40–$80 get marked up to $180–$350 each.
“Upgraded” often just means a slightly larger size or trendy finish that dates quickly.
Installation is rushed during the frantic finishing phase.
Limited selection — you’re stuck with their approved vendors.
In our house the standard fixtures were basic builder-grade boob lights and cheap pendants. The upgrade package promised “modern” looks but still felt generic once we moved in.
What I Actually Paid For (The Smart Wins)
1. Exterior Lighting – Worth Every Penny
We upgraded the front and rear exterior fixtures plus added two motion-sensor security lights.
Cost: $920
Why it made sense: These are installed during siding and electrical rough-in. Changing them later means ladders, patching stucco/siding, and potential warranty issues. The upgraded motion sensors have paid for themselves in peace of mind alone.
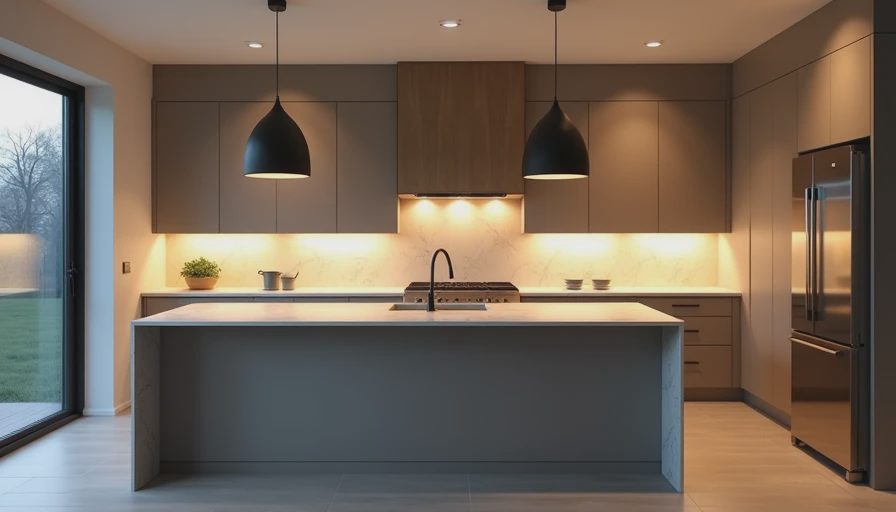
2. Kitchen and Island Pendants – Selective Upgrade
We took the builder’s basic island pendants but only because they were pre-wired. Then we swapped the cheap fixtures for better ones after closing.
Builder upgrade cost avoided: $680
Our post-closing swap: $240 for nicer matte black pendants.
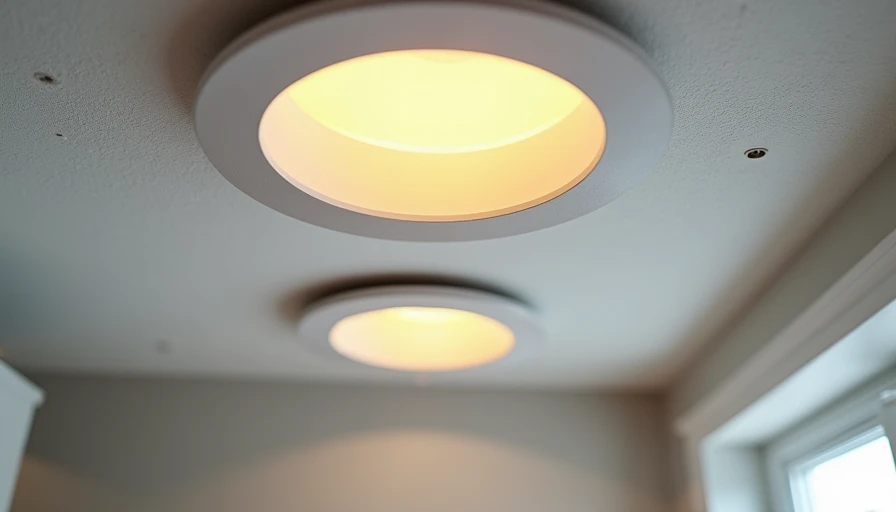
3. Recessed Lighting Rough-Ins
This was the best move. We added extra recessed cans in the kitchen, living room, and master bedroom.
Cost: $1,450
Value: These are nearly impossible to add nicely after drywall. The extra cans let us create proper lighting layers instead of relying on ugly ceiling fixtures.
What We Skipped (Zero Regrets)
The Full “Deluxe Fixture Package”
Saved $3,850. Most of their upgraded chandeliers and vanity lights looked dated within a year. We bought better quality pieces on sale and installed them ourselves over time.
Bathroom Vanity Lights
The builder options were oversized and cheap-looking. We installed simple sconces later for half the price.
Chandeliers in Dining Room
Skipped entirely. We went with a mix of recessed + a nice flush mount we actually liked.
Real Cost Comparison
Builder full package: $3,850–$5,200
Our approach: $2,370 (mostly rough-ins + select exterior)
Savings: ~$2,000+ plus better final look
The Layered Lighting Philosophy
New builds need three layers:
Ambient (recessed/can lights)
Task (pendants, under-cabinet)
Accent (wall sconces, lamps)
Builders push single big fixtures because they’re easy. Smart homeowners build layers over time.
Post-Closing Swap Strategy
Buy fixtures on sale (Wayfair, Amazon, local lighting outlets)
Use the existing junction boxes and wiring
Swap in an afternoon with basic tools
Keep old fixtures as backups or for future resale
What I Saw During Hundreds of Walkthroughs
Families who maxed out lighting upgrades often ended up with:
Fixtures they hated six months later
Higher electric bills from inefficient bulbs
Regret when trends changed
The happiest ones did strategic rough-ins at closing and personalized the rest later.
Smart Rough-Ins Worth Adding
Extra recessed in main living areas
Under-cabinet lighting pre-wire
Exterior motion sensors
Ceiling fan pre-wires in bedrooms
Landscape lighting conduit to backyard
These cost the builder almost nothing extra in labor but save you big headaches later.
Maintenance and Efficiency Reality
Builder fixtures often use cheap LED bulbs that fail fast. We switched to quality LEDs and smart switches. Our electric bill is lower and the house feels warmer in the evenings.
Practical Decision Framework for Upgrade Meeting
Is it hard to change later? (Exterior, recessed rough-ins) → Consider yes.
Purely cosmetic fixture? → Strong skip.
Can I get better quality locally for less? → Usually yes.
Does it affect daily function? → Prioritize.
Our House Lighting Evolution
Six months post-closing the house still had some builder basics. Two years later? Warm, layered lighting that actually makes us want to spend time in every room. The kitchen glows, the backyard has usable light, and nothing feels like a builder special.
Tools That Made Swaps Easy
Voltage tester
Good step ladder
Wire nuts and electrical tape
Smart dimmer switches (huge upgrade)
The Bigger Lesson
Lighting is one area where builders charge premium prices for average results. You have more control and better options after you close than they want you to believe.
A new house isn’t perfect. But it can be yours.
And sometimes that means living with basic lights for a few months while you pick fixtures that actually match your taste and needs.
Your Builder Lighting Checklist
Prioritize rough-ins and exterior at closing
Skip most cosmetic fixture packages
Plan layered lighting (ambient + task + accent)
Budget for post-closing swaps
Test lighting at different times of day
Choose quality LEDs and smart controls
Print this. Take it to your upgrade meeting. Your evenings will thank you.
No letters yet — pray write the first.