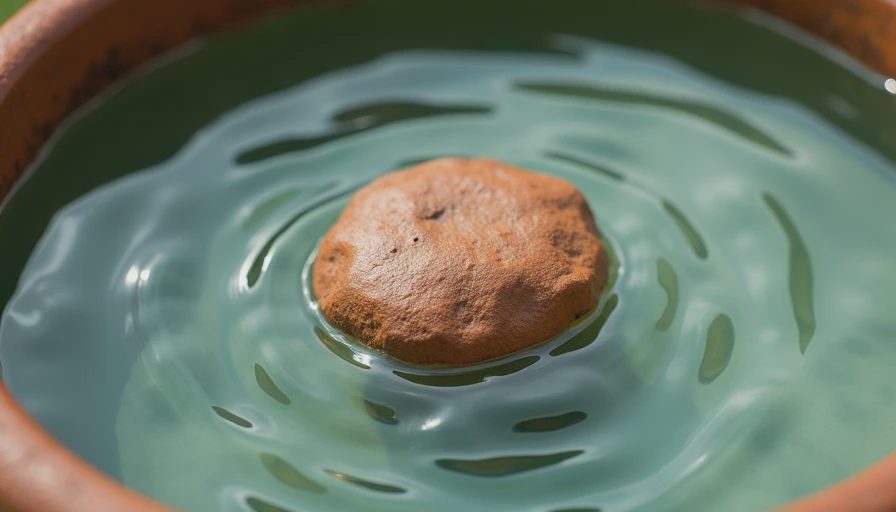
When we closed on our new build in Raleigh last year, the backyard was dirt and a builder-grade patio. I wanted something that made it feel like ours without spending a ton. A **jar water feature** was the first project I tackled. It took an afternoon, cost under $50, and now it's the spot where we drink coffee while the kids play. If you're looking for a quick win that adds sound and movement, this is it.
Why a Jar Water Feature Makes Sense for New Construction
New build yards are blank slates. You're thinking about sod, fences, maybe a deck. But a **jar water feature** is a low-commitment way to start. It's portable—you can move it when you build that pergola later. It's cheap—the materials are easy to find at hardware stores or online. And it works with any style. My wife is picky about modern farmhouse, and a clear glass jar filled with river rocks fits right in.
Plus, it's a conversation starter. When neighbors walk by and hear trickling water, they'll want to know how you did it. I've already helped two neighbors build their own after they saw mine.
What You'll Need and Step-by-Step Build
Here's what I used:
- 1-gallon glass jar (I got mine from Amazon for $12)
- Small submersible pump (I used a $15 Eco-Nomical pump from Lowe's)
- Flexible tubing (3/8-inch, about 2 feet)
- River rocks or pebbles (bag from Home Depot, $5)
- A small ceramic dish or bowl to catch the water at the top
- Waterproof silicone sealant
**Step 1: Drill a hole in the lid.** I used a 3/8-inch drill bit. If your jar doesn't have an airtight seal, you'll need to notch it for the cord. Mine fit through the lid fine.
**Step 2: Set the pump inside the jar.** Push the tubing through the lid hole. Place the pump on the bottom, then fill the jar with water—leave a few inches of air.
**Step 3: Layer rocks around the pump.** Cover the pump so you can't see it, but don't block the intake. The rocks also hold the tubing upright.
**Step 4: Attach the top dish.** I used a small ceramic dip bowl from Target ($3). Drill a hole in the center, slide the tubing through, and seal with silicone. Let it dry 24 hours.
**Step 5: Fill and test.** Plug in the pump, adjust the flow rate (most cheap pumps have a dial), and add more water if needed.
Cost Breakdown vs. Store-Bought
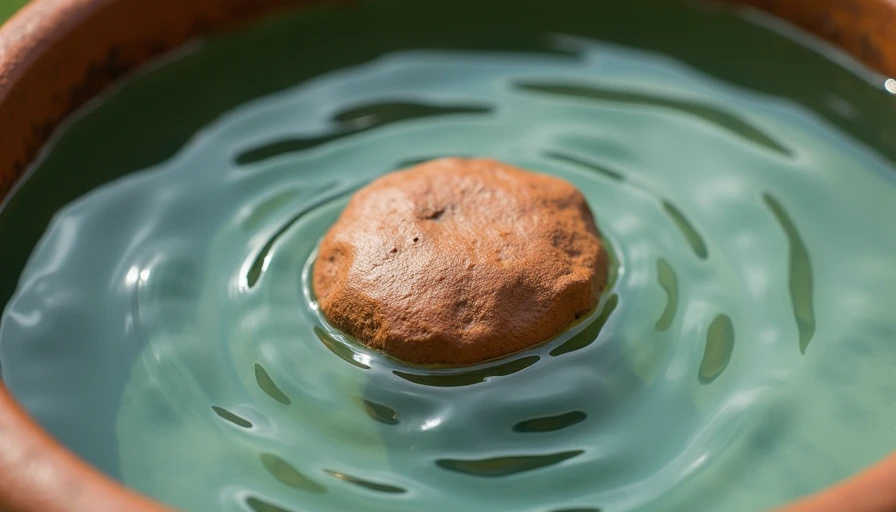
A pre-made tabletop water feature from a home store runs $50 to $150. My **jar water feature** cost $35 total. Here's the exact:
- Jar: $12
- Pump: $15
- Tubing: $4
- Rocks: $5
- Dish: $3
- Silicone: already had it
That's less than half the price of a comparable model. And it's custom—you choose the jar, the rocks, the top piece. If you want a different look, swap the jar for a blue mason jar or an antique apothecary bottle.
Common Mistakes to Avoid
I made a few errors on my first attempt. Don't be me.
- **Don't forget to prime the pump.** If the pump isn't fully submerged when you start, it'll burn out. Fill the jar before plugging in.
- **Use distilled water.** Tap water leaves mineral deposits on the jar and pump. I learned this after two weeks of white residue.
- **Don't seal the lid airtight.** The pump cord needs a gap. I cut a small notch with a file.
- **Keep the intake clear.** If rocks block the pump's water inlet, you'll get a gurgle, not a trickle.
Maintenance Tips
A **jar water feature** is low-maintenance, but not zero-maintenance.
- Change the water every two weeks to prevent algae.
- Clean the pump every month—just pop it out, run it through vinegar water, and rinse.
- In winter, bring it inside or drain it completely. Freezing water can crack the glass. I store mine in the garage from December to March.
Is It Worth It? My Verdict
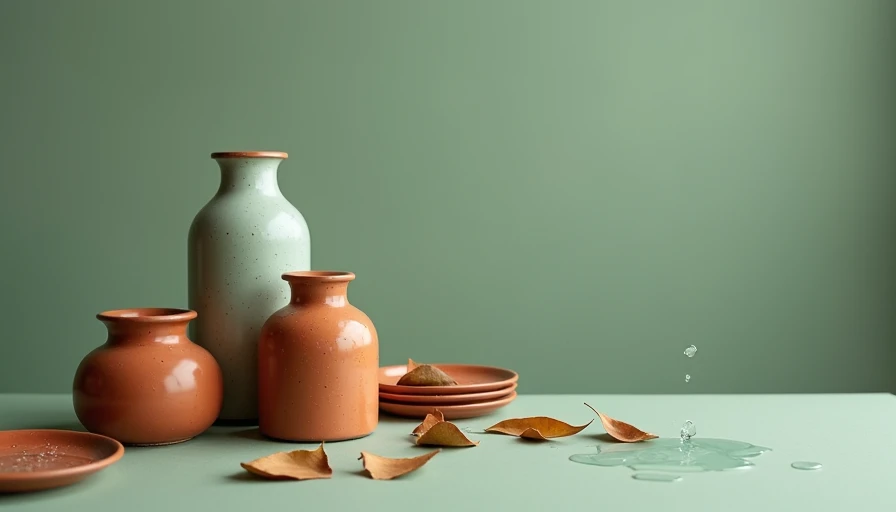
Absolutely. For under $40 and two hours on a Saturday, my **jar water feature** transforms a boring concrete slab into a spot I actually want to sit in. The sound covers neighbor noise, and the kids love watching the water drip. A new house isn't perfect. But it can be yours—one small project at a time.
If you want more backyard ideas for your new build, check out my posts on building a simple planter box or installing drip irrigation. That's next on my list.
Quick FAQs and Troubleshooting Tips
Common Questions
**Can I use any jar?** Yes, but avoid thin glass. A thick mason jar or apothecary-style jar works best. The weight of the water stresses the glass, so choose one with thick walls.
**Do I need a special pump?** No. Any small submersible pump rated for 30-60 GPH is fine. I used the Eco-Nomical model from Lowe's for $15. Cheaper pumps work but may whine after a year.
**How long does it last?** With proper maintenance, several years. The pump is the only part that may need replacing. I've run mine continuously for six months with no issues.
**What if the water level drops?** Check for leaks around the lid and dish. Also, ensure the pump intake isn't blocked by rocks. Top off with distilled water to avoid mineral buildup.
Troubleshooting Checklist
- Water not flowing? Check that the pump is plugged in and fully submerged. Prime it by pouring water directly into the pump.
- Gurgling noise? The pump intake may be partially blocked. Rearrange rocks to keep it clear.
- Algae growth? Add a few drops of bleach or use an algae killing tablet. Or simply change water more often.
- Pump stops after a few hours? It may be burning out due to low water. Ensure water level stays above the pump's minimum fill line.




No letters yet — pray write the first.