The Decision That Made Megan Roll Her Eyes
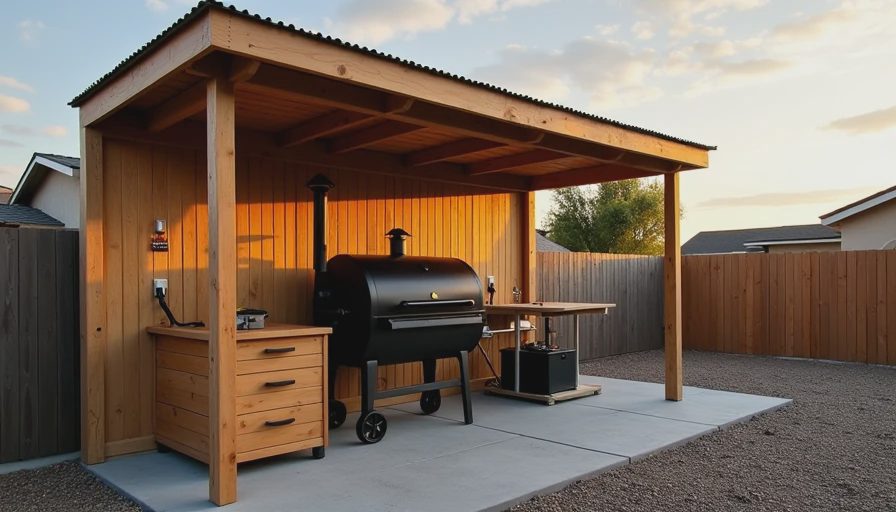
Six months after closing, the guest bathroom still had the builder’s basic vanity and a temporary light fixture. Paint touch-ups were pending. But out back, on what used to be a pure dirt patch, I had finished a solid 8x10 smoker station complete with concrete pad, roof, storage, and power.
Megan’s exact words: “You’re kidding me, right?”
Two years later, we use that smoker station almost every weekend while the guest bathroom is… still perfectly fine. No regrets. Here’s the full story from a former Pulte guy who learned to prioritize what actually gets used in a new build.
Why the Smoker Station Came First
New construction life hits different. You have a painful mortgage, kids who need outdoor space, and a dirt backyard staring at you. The “finish the house first” pressure is real, but some projects bring more daily joy than others.
I’d been dreaming of a proper offset smoker setup since our old ranch house days. With the new lot, I saw an opportunity to create a true outdoor cooking zone before the rest of the yard matured. It turned out to be one of the smartest calls we made.
The Build: Step by Step
Site Selection and Planning
I picked a spot about 20 feet from the house — close enough for easy access but far enough that smoke wouldn’t drift inside. We tied it into the existing gravel path from the mudroom (see earlier posts).
Checked for utility lines with the builder’s as-built drawings.
Ensured good drainage away from the house.
Planned for future expansion (we added a small prep counter later).
Foundation and Base
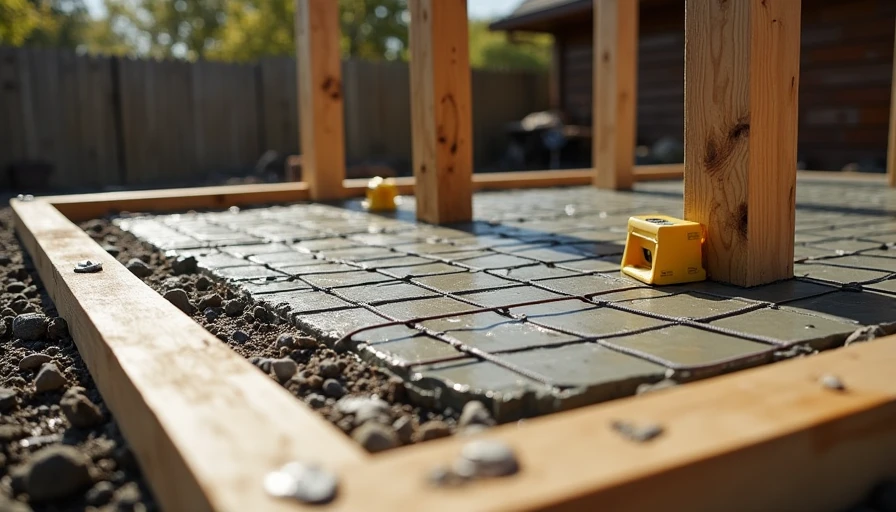
Dug down 8 inches and installed a compacted gravel base.
Poured a 8x10 concrete pad with rebar for stability: $520 including concrete delivery.
Added a slight slope for water runoff.
Structure and Roof
Built a simple post-and-beam shelter using pressure-treated lumber.
Installed a metal roof with overhang for weather protection.
Added open shelving on one side for wood storage and tools.
Ran electrical conduit for future lighting and outlets: $180.
The Smoker Integration
My offset smoker (a homemade beast I built with a buddy) sits proudly on the pad. We added:
A heavy-duty stainless prep table
Hooks for utensils
A small sink station with hose bib (future upgrade)
Weatherproof storage cabinet for pellets and sauces
Total Cost Breakdown
Concrete pad & base: $520
Lumber & roofing: $680
Electrical rough-in: $180
Prep table, shelving & hardware: $450
Misc (paint, sealant, tools): $210
Grand Total: ~$2,040 — spread over three weekends.
Compare that to finishing the guest bathroom with upgrades: easily $3,500+. The smoker gets used weekly. The guest bath? Maybe twice a month when family visits.
How It Changed Our Backyard Life
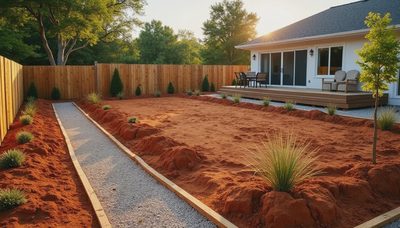
This station turned our dirt patch into a destination. Weekend mornings I’m out there with coffee while the kids play nearby. Briskets, ribs, pulled pork — it became the heart of our outdoor entertaining before we even had proper landscaping.
Neighbors started asking about it. One couple copied a simpler version and thanked me later. It made the backyard feel intentional even when the rest was still “in progress.”
Lessons Learned the Hard Way
Build on a solid base. I almost skipped proper compaction — glad I didn’t.
Overbuild slightly. The structure handles Carolina storms and heavy use.
Plan for flow. Proximity to the kitchen and mudroom is key.
Power is everything. Even basic lighting and an outlet changed the game.
Prioritize joy projects. Not every upgrade has to be “responsible.”
What the Guest Bathroom Got Instead
We eventually did basic updates: new faucets, a nicer mirror, and paint. Total spend under $800. It looks fine. But nobody talks about the guest bathroom at parties. Everyone wants to see the smoker setup.
The Bigger Priority Philosophy for New Builds
In year one, you can’t do everything. Choose projects that:
Get daily or weekly use
Improve family life immediately
Create lasting memories
Leverage your skills and interests
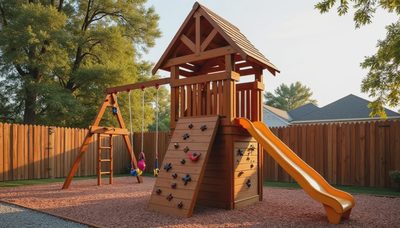
For me, that was the smoker station. For you it might be a playset, garden beds, or a fire pit. The point is being intentional instead of following the “finish indoors first” script.
Practical Smoker (or Outdoor Project) Checklist
Choose location with access, drainage, and utility proximity
Build a durable foundation
Include weather protection and storage
Add power and lighting
Integrate with existing paths and zones
Start simple and expand over time
No Regrets, Only Brisket
Two years in, our backyard is still evolving. But every time I fire up the smoker, watch the kids run around the playset, and smell that smoke rolling across the yard, I remember why we did things out of order.
The guest bathroom can wait. Good times cannot.
A new house isn’t perfect. But it can be yours.
Sometimes that means building the fun stuff first and letting the rest catch up on your timeline.
Your Year One Priority Challenge
Look at your unfinished list. Pick one project that brings real joy and daily use. Build it. You’ll thank yourself every weekend.
Print the checklist. Fire up the plans. Your future backyard self is waiting.
No letters yet — pray write the first.