Closing day felt like the finish line, but the sun rising straight into our master bedroom at 6:15 AM made it clear we had one more big decision to make: window treatments. The builder offered “upgraded” blinds for a hefty chunk of change, and the sales guy made it sound like we had to decide yesterday or live in a fishbowl forever.
Spoiler: we had more time than they implied. And skipping most of their options was one of the smarter money moves we made.
Here’s the real story from someone who sat on both sides of the upgrade table and then dealt with naked windows in our own new build.
The Builder Window Treatment Trap
Builder options are convenient on paper. They install everything before you move in, coordinate with the construction schedule, and it’s one less thing to think about. But the pricing is pure profit.
Our floor plan had about 18 windows. Their “premium” cellular shades package? $4,800. Standard blinds were cheaper but looked and felt cheap — flimsy slats that don’t block light well and break easily with kids around.
From my Pulte days, I knew these were installed quickly by crews that move from house to house. Quality control wasn’t always perfect, and if you want something different later, you’re stuck with holes and patching.
Why You Actually Have Time
New construction timelines give you breathing room most buyers don’t realize:
The house has basic window coverings (often cheap builder blinds or nothing in some rooms).
You can live in the space for weeks or months before committing.
Light patterns change with seasons, furniture placement, and how you actually use each room.
Local installers and online options are often better quality and cheaper.
We used temporary solutions for the first 3–4 months and it was fine.
What We Actually Did
1. Master Bedroom – Blackout Priority
East-facing bedroom meant brutal morning light. We bought temporary blackout curtains from Amazon ($85 for the pair) and hung them with simple tension rods the first week. They bought us time to research.
Later we installed custom cellular blackout shades through a local company for $680. Much better light control, nicer look, and still saved money versus builder pricing.
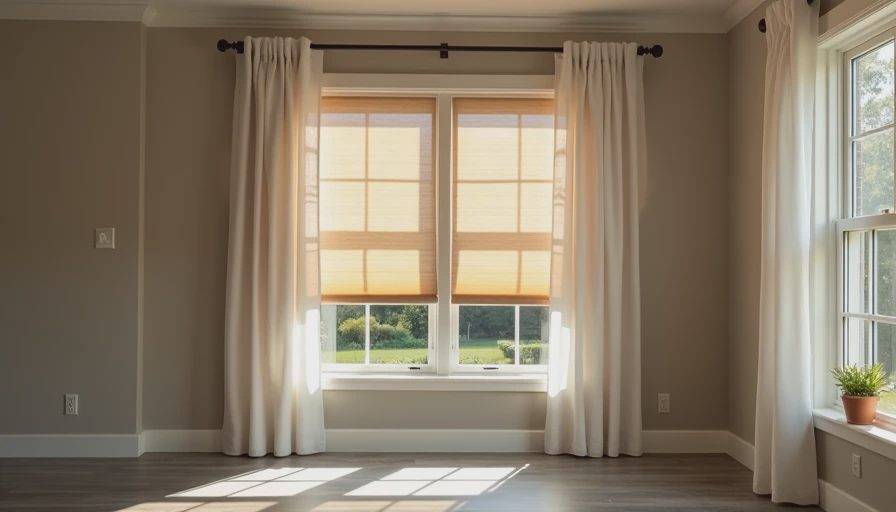
2. Living Areas – Light Control + Privacy
We went with cordless faux wood blinds in the main living spaces. Ordered online, installed ourselves over a weekend. Total cost: $420 for six windows. They look clean, block afternoon glare, and were easy to cut to exact sizes.
3. Kids’ Rooms – Durable and Fun
For Charlie and Emma we chose colorful but practical roller shades that can handle little hands. Added blackout liners. Cost: $290 total. They love picking colors and we’re not stressed about damage.
4. Kitchen and Dining – Minimal Approach
We kept it simple with light-filtering cafe curtains on the bottom half of windows. Keeps the space bright while hiding the sink mess. $110 total. Feels intentional instead of sterile.
Temporary Solutions That Saved Us
Blackout curtain panels on tension rods (super cheap and removable)
Temporary paper shades from the hardware store
Even old bedsheets in a pinch during the first couple weeks
Nobody judges your windows when you’re still unpacking boxes.
What We Skipped Entirely
The full builder package. Saved nearly $4,000.
Expensive motorized options in year one. Maybe later.
Valances or super fancy drapery. Not our style and not needed yet.
Real Cost Comparison
Builder package: ~$4,800
Our phased approach: ~$1,585 (including temporaries)
Savings: over $3,200
That money went into better countertops and backyard projects instead.
Timeline That Actually Works
Week 1: Install temporary solutions in key rooms (bedrooms especially).
Month 1–2: Live in the house, track light patterns, decide on vibe per room.
Month 2–4: Measure carefully, order custom or semi-custom options.
Month 3–6: Professional installation where it makes sense.
This approach means you make better decisions because you’re not rushing during the upgrade frenzy.
Pro Tips From the Trenches
Measure twice (or three times). New build windows can have slight variations.
Consider UV protection — new furniture and floors fade faster than you think.
Kid-proof from the start: cordless everything.
Think about resale: neutral choices tend to perform better.
Don’t forget exterior views. Some windows look better with minimal treatment.
The Light Bulb Moment
About three months in, sitting in the living room with the afternoon sun filtered perfectly through our new blinds, Megan said, “I’m glad we waited.” The house felt more like ours because we chose based on real life, not model home pressure.
Practical Window Treatment Decision Framework
How critical is light control in this room? (Bedroom = high priority)
How much direct sun does it get?
Kid/pet factor?
Budget per window?
DIY vs pro install?
Use this at your upgrade meeting and when shopping later.
Tools and Resources That Helped
Laser measure for accuracy
Online blind measuring guides (most retailers have good ones)
Local shade/blind stores for samples you can take home
Amazon and Wayfair for affordable temporary options
The Bigger Lesson
Builders want you to buy everything at once because it’s easier for them. But you have more time than you think to make thoughtful choices that actually fit your life.
A new house isn’t perfect. But it can be yours.
We still have a couple windows with basic treatments we’ll upgrade eventually. But the important rooms feel great, the budget stayed intact, and we’re not stuck with choices we’d regret.
Your New Build Window Treatment Checklist
Install temporary solutions immediately after closing
Track light and privacy needs for 4–6 weeks
Measure all windows carefully
Compare builder price vs local/DIY options
Prioritize bedrooms and high-use areas first
Choose durable, cordless options with kids/pets
Install and enjoy your smarter decisions
Don’t let window treatment panic ruin your move-in joy. You’ve got time. Use it.

No letters yet — pray write the first.